
Ceramic Heating Element / Core for Electric Soldering Irons
Roll over image to zoom in
৳ 45.00৳ 60.00 (-25%)
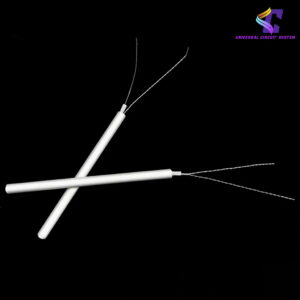
This 75mm Ceramic Soldering Iron Heating Element Replacement Core is a high-utility thermal component designed to restore fast, reliable heating performance to your soldering tools.
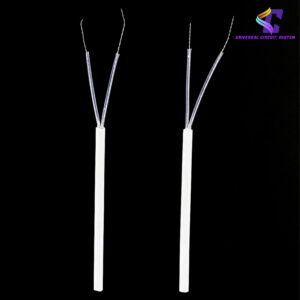
This 75mm Ceramic Soldering Iron Heating Element Replacement Core is a premium, high-efficiency thermal core component designed to restore your soldering equipment to peak operational performance. Engineered using advanced co-fired ceramic tech, this internal heating rod delivers excellent thermal conductivity, exceptional insulation resistance, and rapid heating response times, making it an essential repair component for technicians, hobbyists, and industrial repair benches.
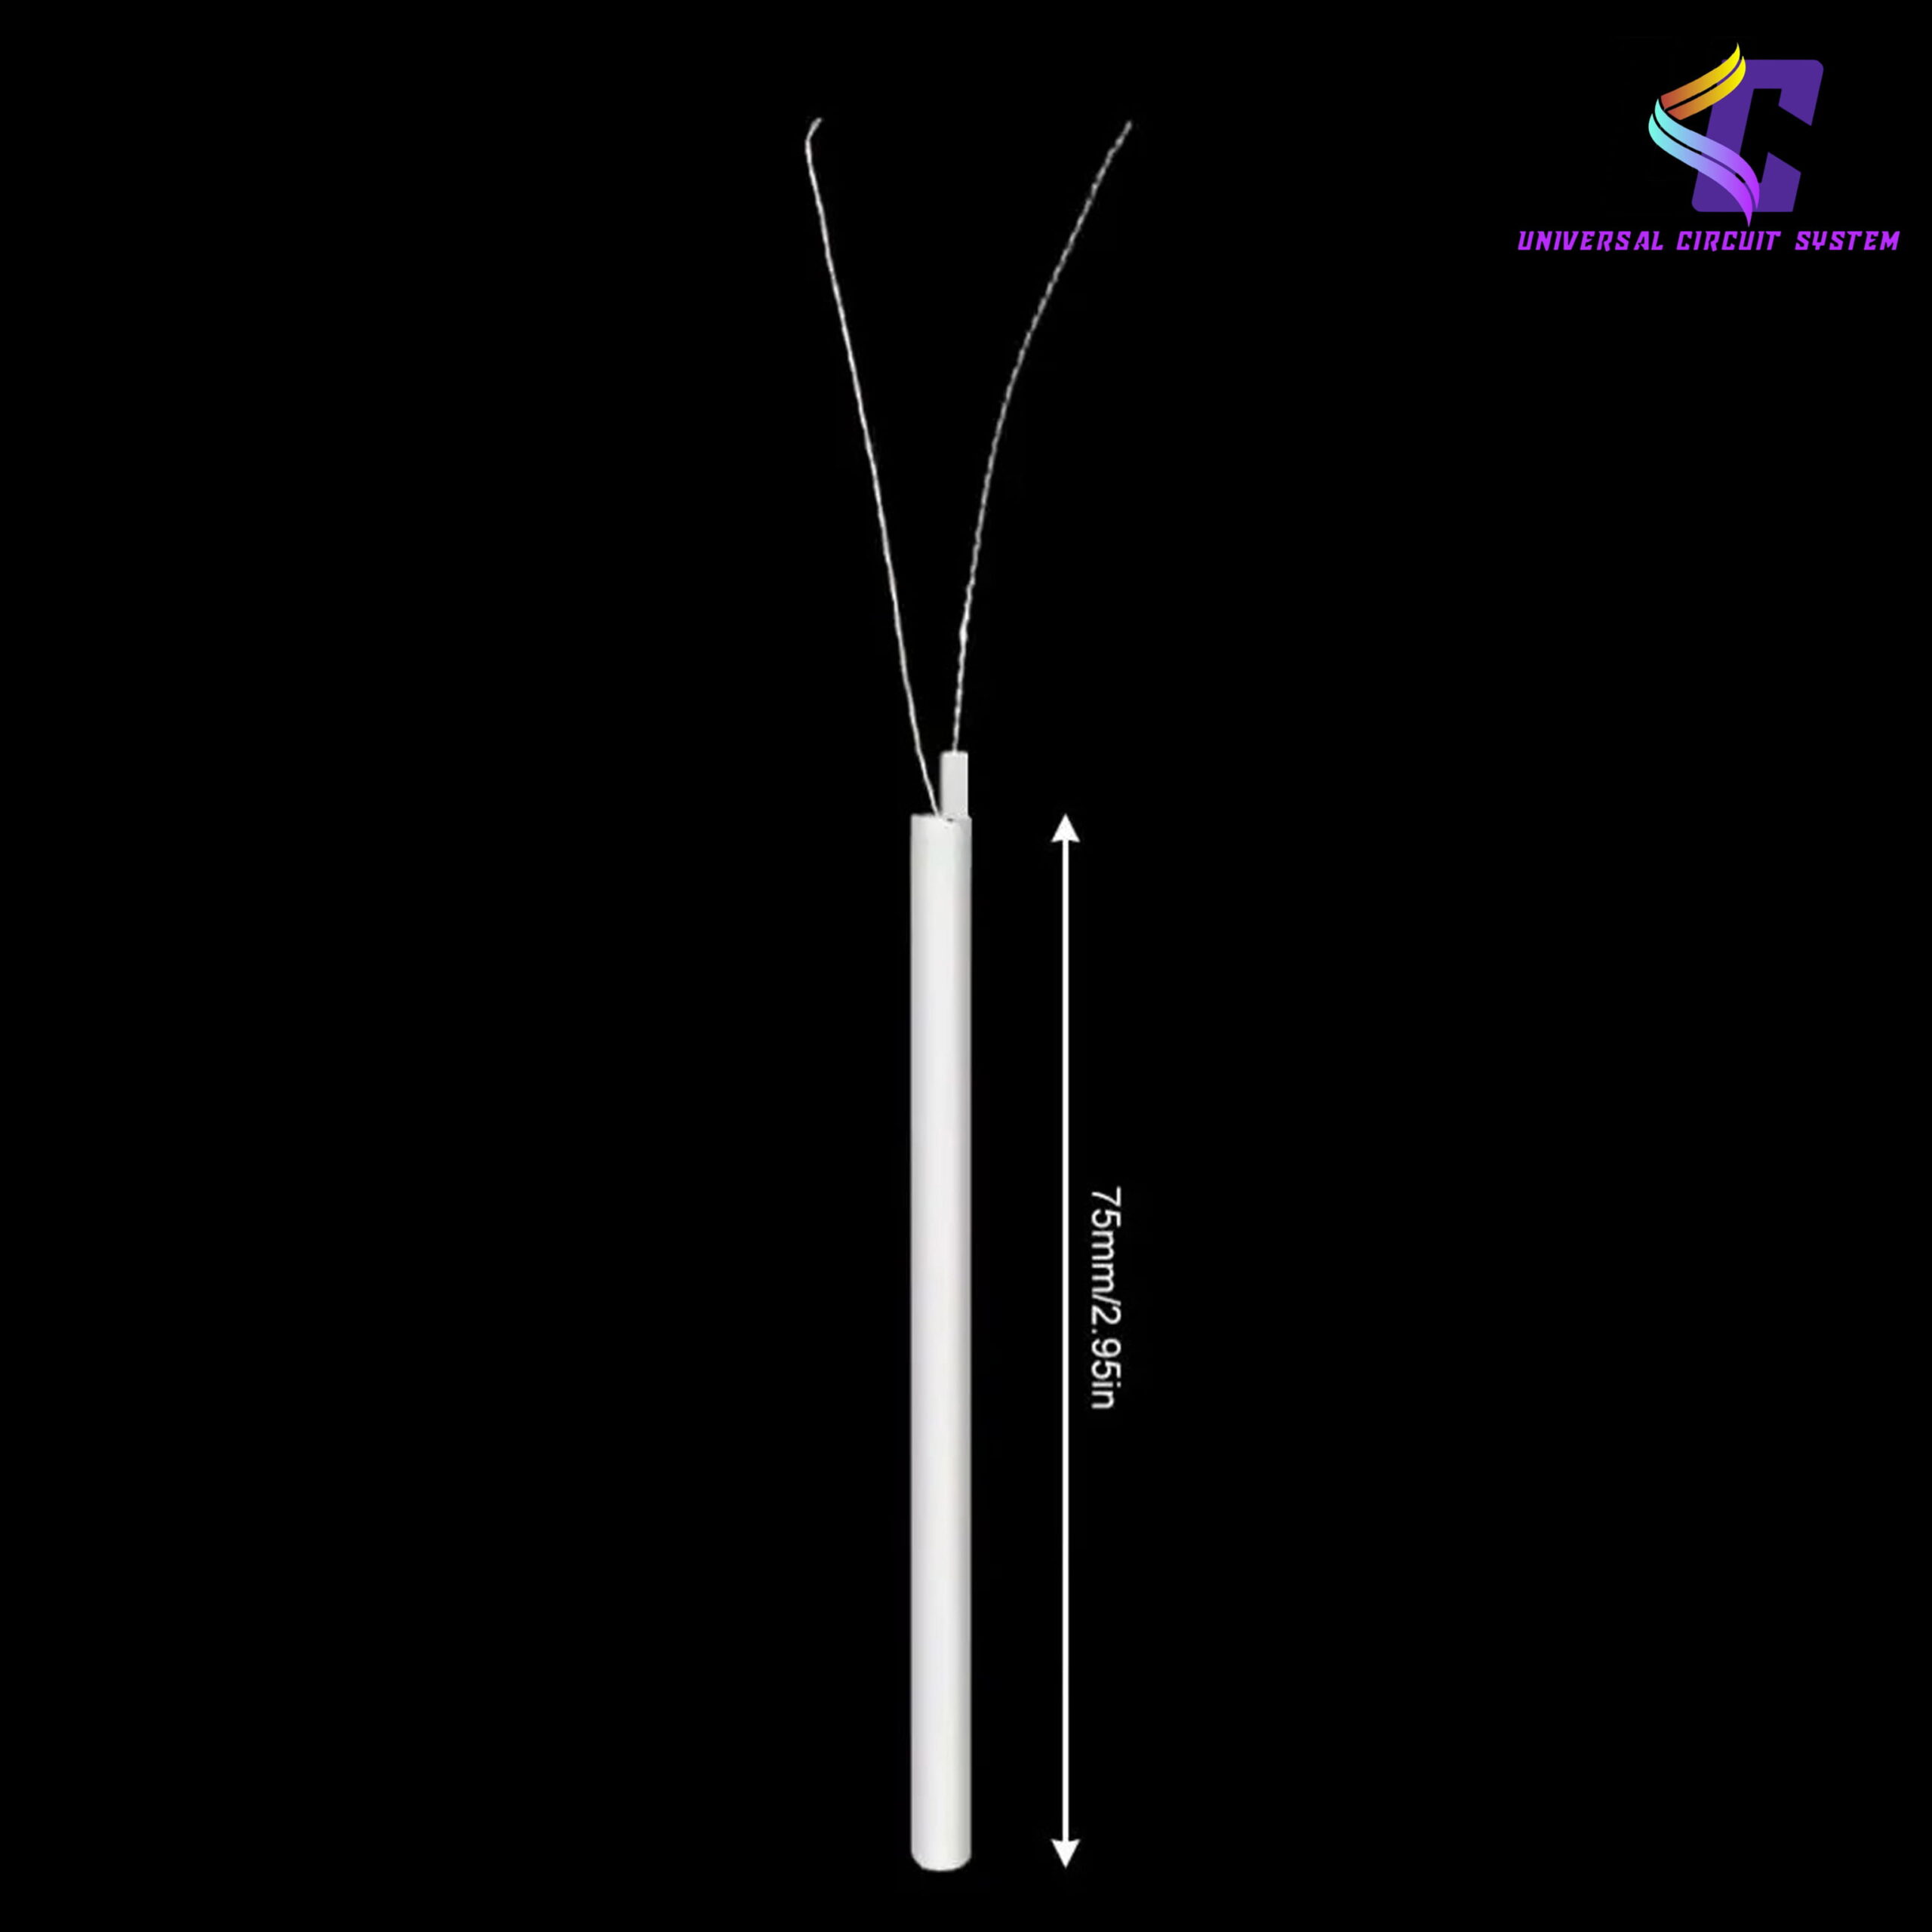
Instead of discarding an entire soldering iron handle assembly when it stops warming up, this drop-in heater core offers a cost-efficient repair path. Its standardized 75mm (2.95 inches) length profile allows it to slide cleanly inside the metal barrel chambers of popular adjustable temperature soldering irons and desktop soldering stations, ensuring your tool recovers its original fast thermal recovery behavior.
Technical Specifications
- Core Material: High-Density Alumina Ceramic (Al₂O₃)
- Total Component Length: 75mm (2.95 inches)
- Heater Type: Internal resistive heating matrix element
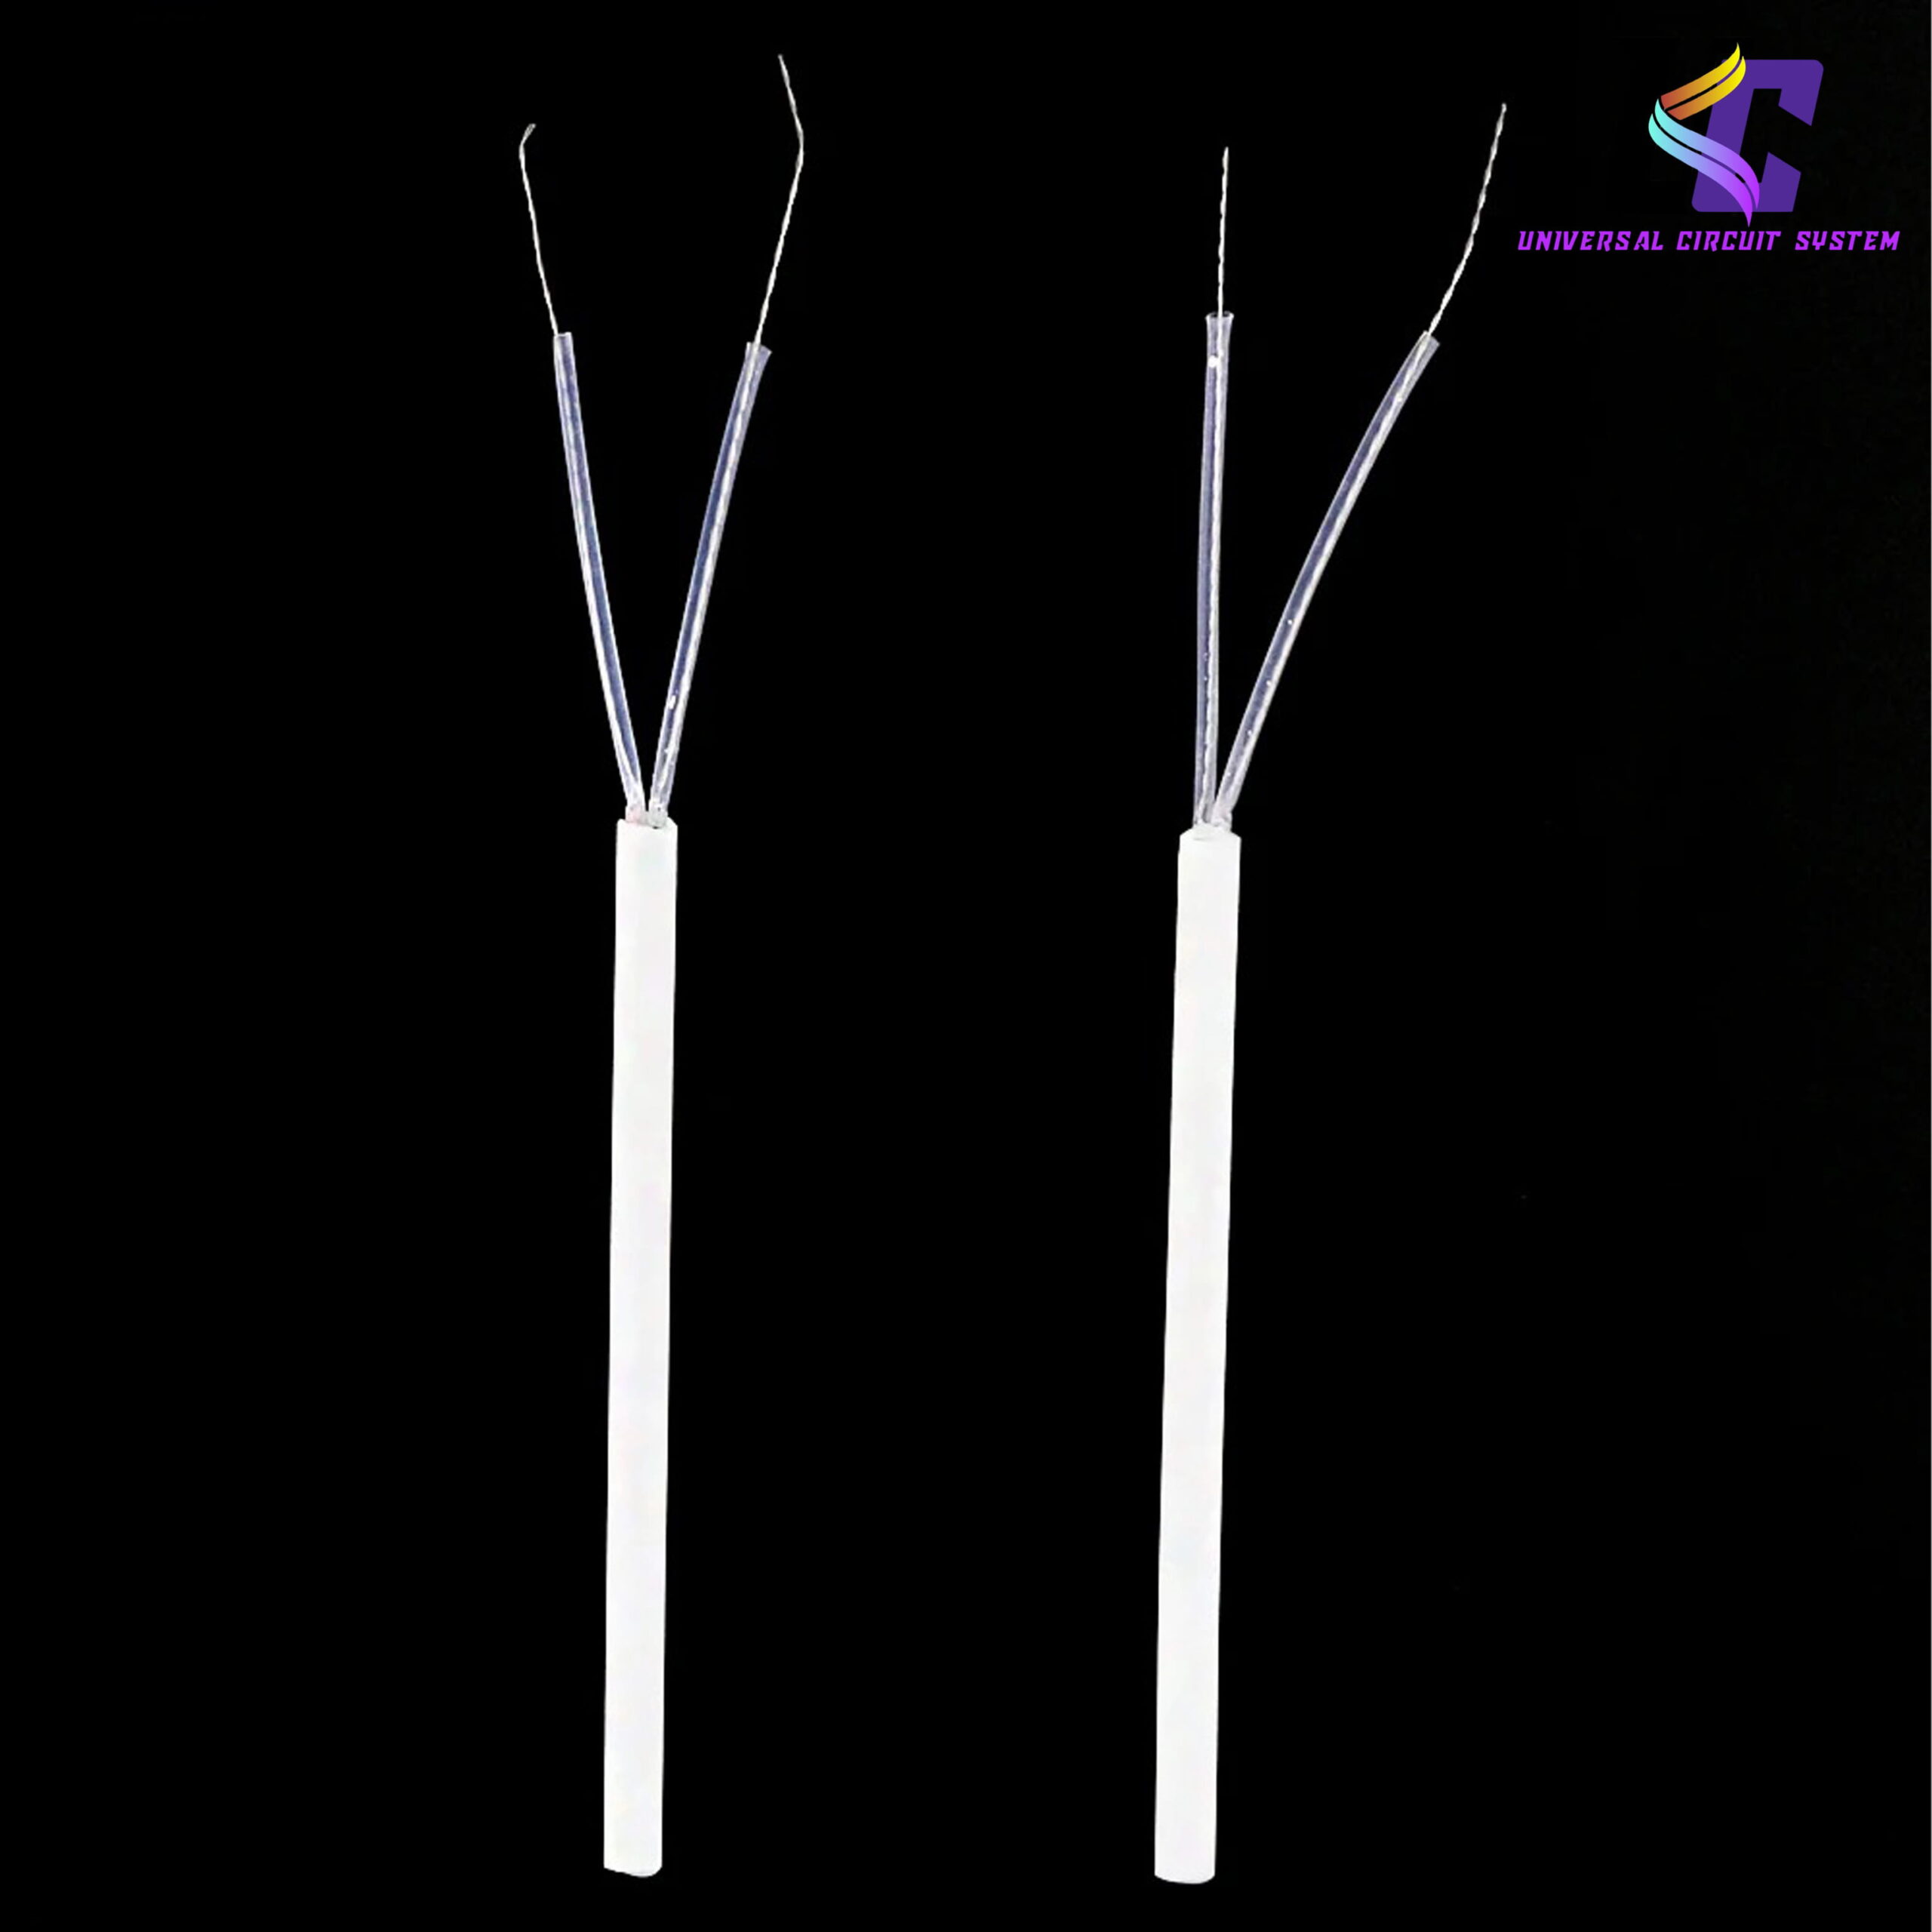
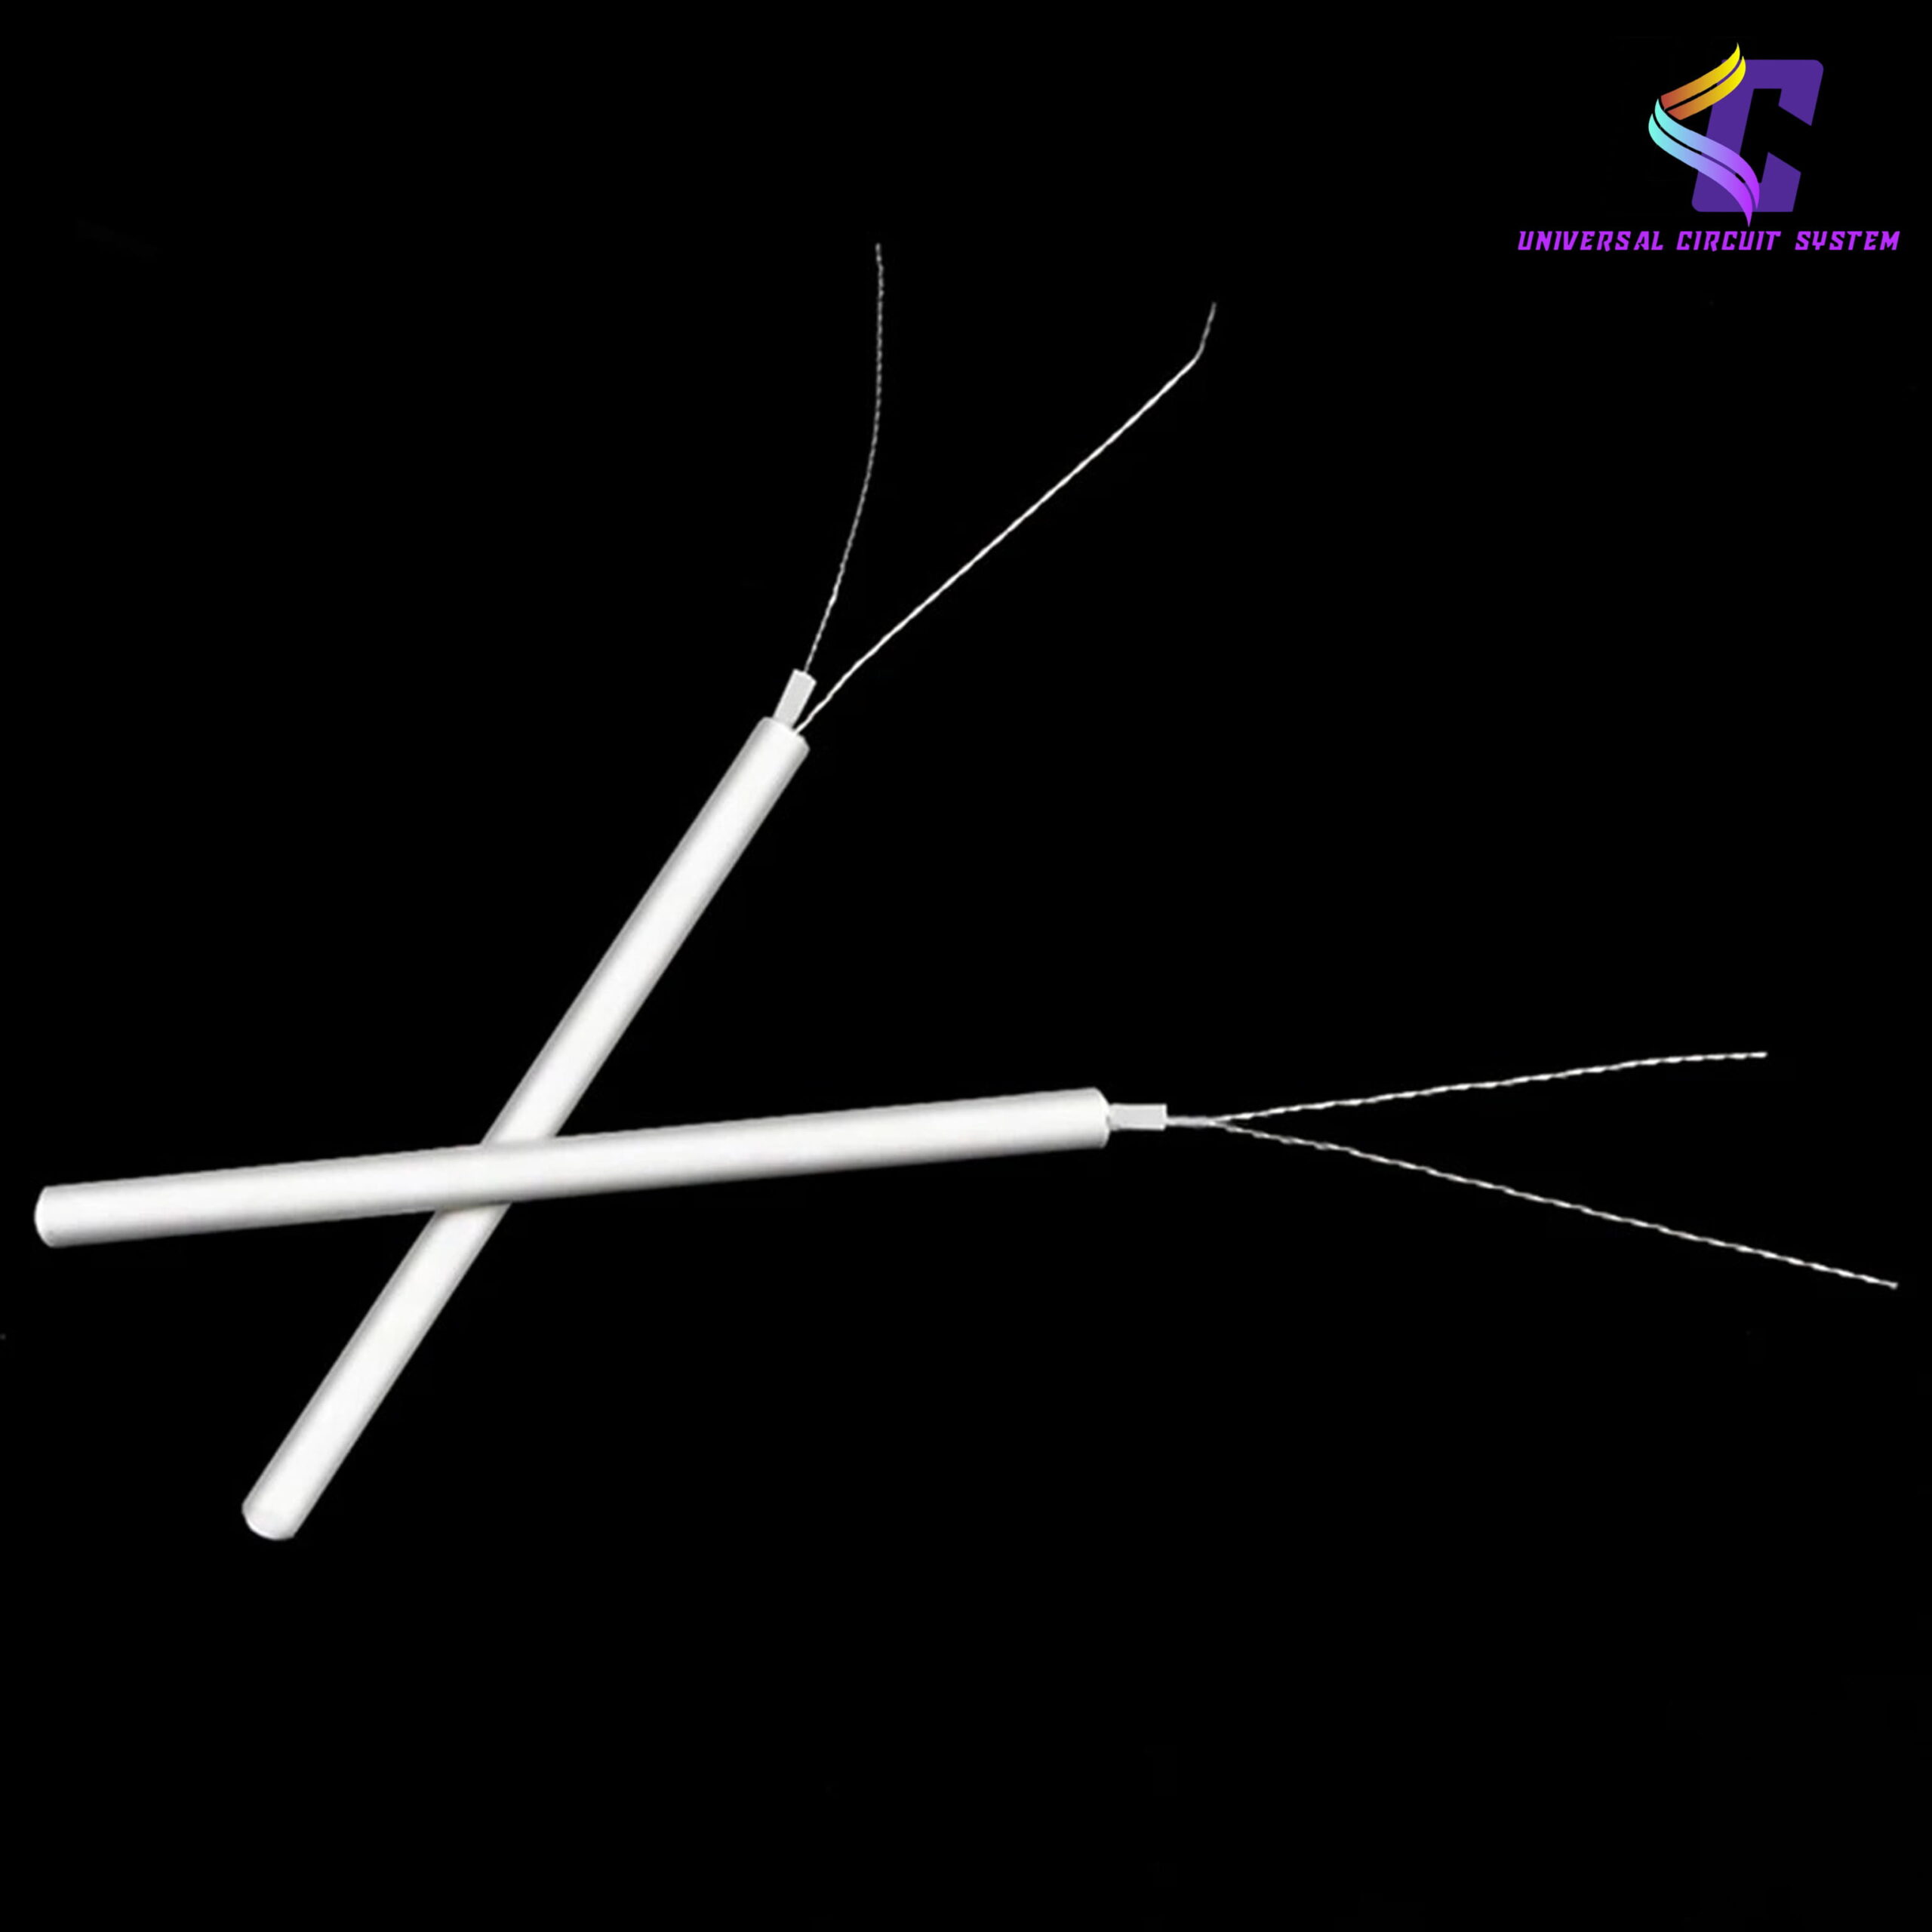
- Interface Wiring: Dual-lead high-temperature insulated fly-wires
- Thermal Dynamics: High temperature uniformity with fast ramp-up curves
- Structural Durability: Resistant to thermal shock, high-voltage breakdown, and oxidation
Key Product Features
- Rapid Thermal Ramp-Up: Powered by a highly dense, internally layered tungsten or alloy resistive paste network, the core reaches melting temperatures in seconds, minimizing wait times at your workbench.
- Premium Ceramic Composition: The high-purity ceramic casing acts as a superior electrical insulator while maintaining a highly efficient thermal transmission pathway, protecting sensitive low-voltage components on your PCB from accidental electrostatic discharge (ESD) or mains leakage.
- Excellent Temperature Uniformity: Engineered to eliminate localized hot spots along the shaft, providing uniform heat dissipation right into the base of your soldering iron tip for smooth, consistent solder flow during heavy terminal joints.
- High-Temperature Insulation Leads: Equipped with ultra-durable, heat-resistant stranded lead wires that resist cracking or scorching during installation, providing a secure electrical path to your iron’s control PCB.
- Universal Maintenance Drop-In: Designed to match the dimensions of standard external-heating styles where the tip sleeves directly over the ceramic rod, making it a highly compatible choice across various generic and brand-name repair tools.
Recommended Application Areas
- Soldering Iron Refurbishment: Direct internal heater replacement for handheld variable temperature irons and analog or digital rework stations.
- DIY Thermal Assemblies: Highly adaptable component for makers building custom hot-wire plastic cutters, localized heating jigs, or micro-heating experimental arrays.
Step-by-Step Installation & Wiring Guide
To ensure your buyers achieve a successful repair without damaging the new component, consider adding these step-by-step instructions to your product listing:
- Safety First: Disconnect your soldering iron from the wall outlet or base station completely and allow it to cool down to room temperature before disassembly.
- Disassemble the Handle: Unscrew the front metal retaining nut, slide off the metal barrel assembly and soldering tip, and gently pull the internal control PCB board forward out of the plastic handle.
- De-solder the Broken Core: Take note of where the original heating element wires connect to the circuit board. Carefully de-solder the old leads and clear out the mounting holes using a solder sucker or desoldering wick.
- Mount the New Element: Slide the new ceramic element’s fly-wires through the board holes. Ensure the ceramic base sits at the exact same depth/height as the old one so that the soldering tip can slide completely over it later.
- Solder the Connections: Solder the new wires firmly into place. Clip away any excess wire lengths sticking out past the board to prevent accidental short circuits against the inner handle walls.
- Reassemble and Inspect: Slide the PCB back into the plastic handle casing, place your tip over the new ceramic element, lock down the outer metal barrel assembly, and turn on the iron at a low temperature to verify smooth heating.




Reviews
There are no reviews yet.